No rooting, no USB cables; just your Kindle Fire and a PC
For over a year now, I’ve been grinding my teeth at Amazon’s refusal to allow Kindle Fire owners to use the Google Play Store to download Android apps to the Fire. It’s a simple enough matter if you have a smart phone—all you need to do is register the phone on the Google Play Store, download the app, and then sideload it onto the Kindle Fire. Well, I don’t have a smart phone (I’m such a Neanderthal!), thus the teeth-grinding.
I love my Kindle Fire (and I don’t even have the new HD model). I read books, play games, and check the weather. But I really want to do more with it—use it for recipes in the kitchen; maintain a home inventory; monitor the news using my local TV station’s app—you know, productive things. I’m always reading reviews about cool Android apps that I’d love to have. And since I’m a technical writer, my clients expect me to be able to publish their documents on mobile devices. I need my Kindle Fire to behave like any other Android device, and that requires having apps that Amazon doesn’t provide. Sometimes I’m able to download an app’s native .apk file and side-load it onto the Kindle, but usually the really useful apps are only available on the Google Play Store.
I did a little Googling (how ironic), and by piecing together information from several Web sites and videos, I’ve figured out how to install Google Play Store apps on my Kindle Fire without having another Android device to assist. Like all workarounds, this one is fiddly and takes some time, but it is SO WORTH IT to get access to apps not available in the Amazon App Store. Click any screenshot in the following procedure to enlarge it for more detail.
What We’re Going to Do in This Procedure
BlueStacks is a Windows/Mac program that allows you to use your favorite mobile apps on a PC. We will use Bluestacks to convince the Google Play Store that your PC is really a mobile device. We’ll download your desired apps from the Google Play Store to your computer, and then we’ll use DropBox to copy them to your Kindle Fire.
Do These Things First
This procedure assumes that you have
- obtained a Google account and have logged into it via your browser
- installed Dropbox on your PC
- installed the Dropbox app (directly from dropbox.com) on your Kindle Fire
1. Install BlueStacks on your PC
- Download the free BlueStacks program at http://www.bluestacks.com/
- Install it on your PC and register it with your existing Google account username and password.
2. Install Google Play Store on BlueStacks
- From BlueStacks, click Help.
- You are presented with an area to enter a URL.
- Change the bluestacks.com URL to play.google.com .
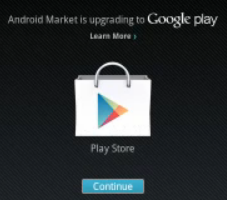
- When prompted, complete the action using the Play Store.
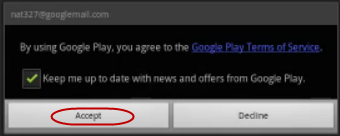
- Click Continue and then click Accept.
- Log into your Google account if you haven’t done so already. You will see the Google Play Store home page.
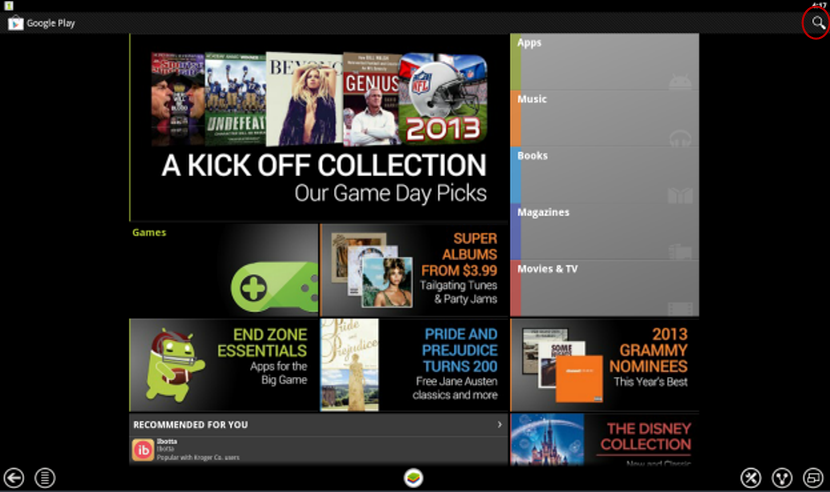
4. Install a Launcher on BlueStacks
- Click the Search icon on the Google Play home page (upper right corner in the previous step) to display a search box.
- Search for “Launcher Pro” (it is a good choice) or any other launcher of your choice.
- Click Install. You now have a launcher on your BlueStacks virtual Android device that has a link to the Google Play Store.
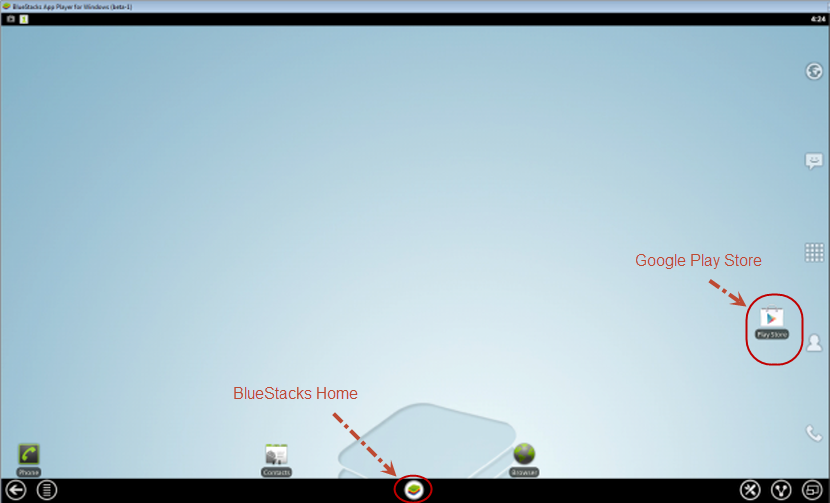
When you click the Home button on BlueStacks, you are given a choice to use Apps or LauncherPro. Use Apps to select and run apps; use Launcher Pro to access Google Play to install new apps. You’ll see how this works as you complete the following steps.
5. Install a Couple More Apps That You Will Need
Open the Google Play Store and install the following apps using the search and install instructions from the previous step.
- Apk Share (to back up the apks in BlueStacks)
- ES File Explorer (to copy the apks to a folder on your PCFrom BlueStacks)
6. Install the Apps That You Want to Eventually Use on the Kindle Fire
From the Google Play Store, search for and install any apps that you want to use on your Kindle Fire just as you did with the previous apps.
7. Back Up the Apps You’ve Installed
- Click the BlueStacks home button and select Complete Action Using Apps to display the apps you have installed.
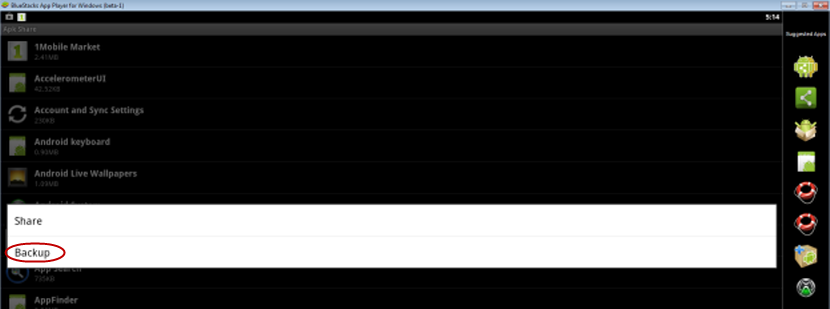
- Click the Apk Share app to open it. Select each app that you wish to back up and eventually run on the Kindle Fire. For each one, click Backup when prompted.
Each app that you backed up is stored in BlueStacks’ folder entitled “/sdcard/apkshare .”
8. Copy the Apps from Your PC to Dropbox
- Click the BlueStacks home button and select Complete Action Using Apps to display the apps you have installed.
- Open ES File Explorer and navigate to the “/sdcard/apkshare/’ folder.
- When you are inside the “apkshare” folder, click the Select button to enable multiselect. Select all of the apps that you want to copy to Kindle Fire.
- Once you’ve selected the apps to copy, click the Copy button.
- Click the Up button and navigate back to the “/sdcard” folder.
This is where things might get a little tricky. The goal is to make your way to the folders on your PC. Look for a “Windows” folder or a “/sdcard/bstfolder/Documents” folder.
- Click the Paste button to paste the .apk files into the Documents folder or some other folder on you PC. Don’t worry about where because they won’t be there for long; just remember where you put them.
- On your PC, open up Windows Explorer and navigate to where you put the .apk files in the previous step.
- Select the .apk files and press Ctrl-X to cut them.
- Navigate to the Dropbox folder on your hard drive (this was created when you installed Dropbox).
- Press Ctrl-V to paste the apk files into the Dropbox folder.
9. Install the Apps on the Kindle Fire
- From the Kindle Fire, launch the Dropbox app. You will see the new apps that you just pasted in the Dropbox folder.
- Click the apps that you want to install and let the Kindle Fire do its thing.


